


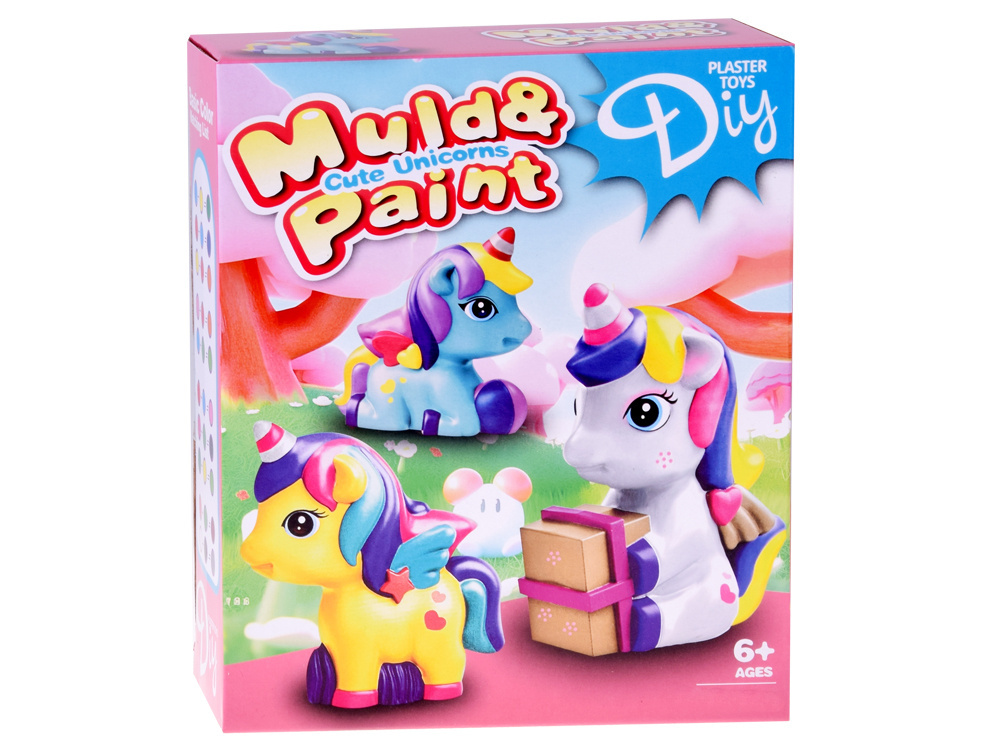
Creative DIY Set - Shape and Paint PLASTER Unicorns ZA5755 Universal
Code: i617_22435-uniw
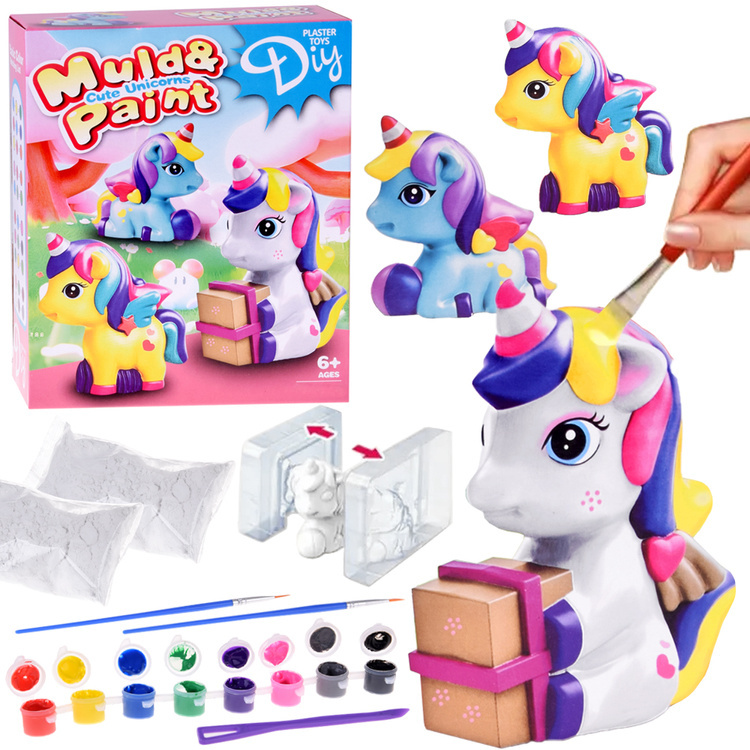
Creative Set "Create Your Own Beautiful, Fairy Unicorns" – DIY
This unique creative set is the perfect offer for all young artists who love the world of fantasy, color, and creative fun. Thanks to it, you can create three-dimensional plaster unicorn figurines yourself and then decorate them according to your own imagination. This is a perfect combination of manual entertainment, development of artistic skills, and patience and precision.
The process of creating figurines is simple and at the same time immensely satisfying. First, it is necessary to prepare the molds and ensure that they are properly sealed and tight. Subsequently, pour the prepared plaster solution and wait for it to harden. After removing the finished figurines, they can be cleaned, smoothed, and proceed to the most exciting phase – painting. There are up to 8 colors available that can be combined with each other to create new shades and give unicorns a unique character.
This is a great offer for both children who want to develop their artistic skills and parents who wish to spend creative time with their children. The effect of the fun will be beautiful unicorn figurines – a perfect decoration for a child's room or an exceptional, handmade gift.
Key features of the set:
- Possibility of independently creating 3D plaster figures
- Simple casting and painting process
- Development of manual skills, creativity, and patience
- Ideal idea for creative time spending

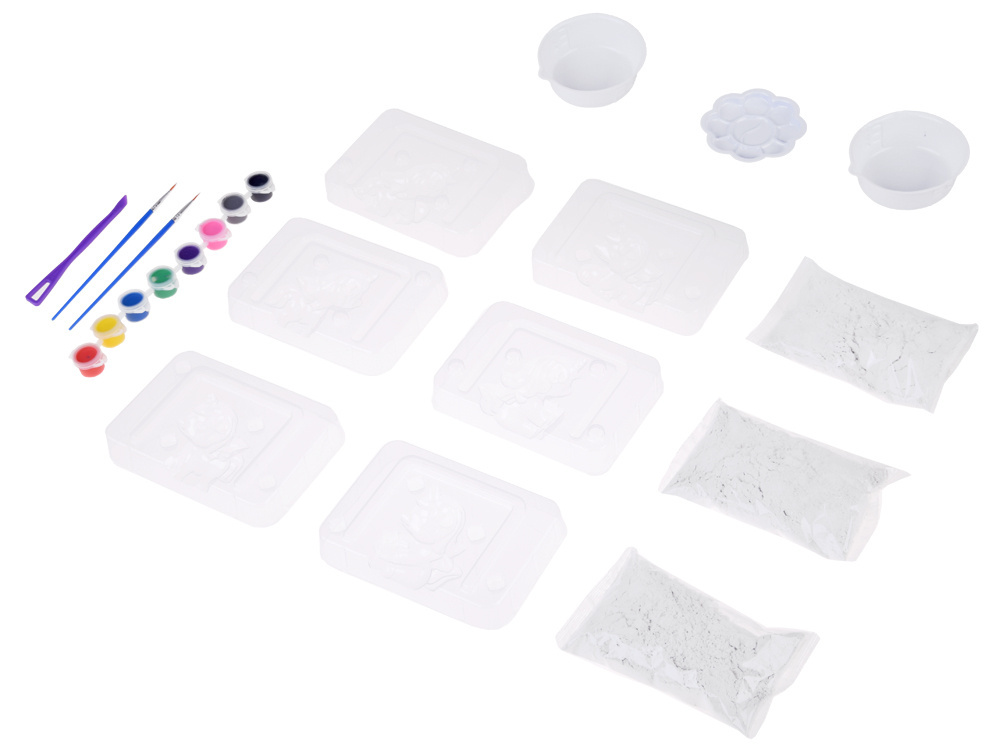
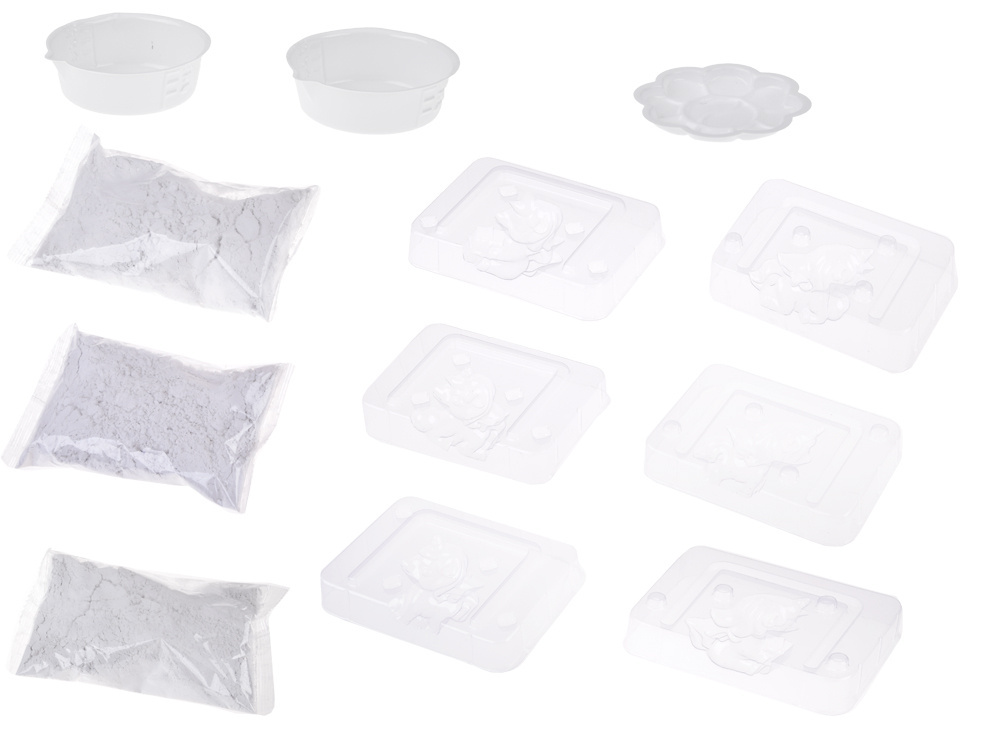
In the set you will find:
- 3 bags of plaster
- 3 unicorn casting molds
- 2 measuring cups
- 1 palette for mixing colors
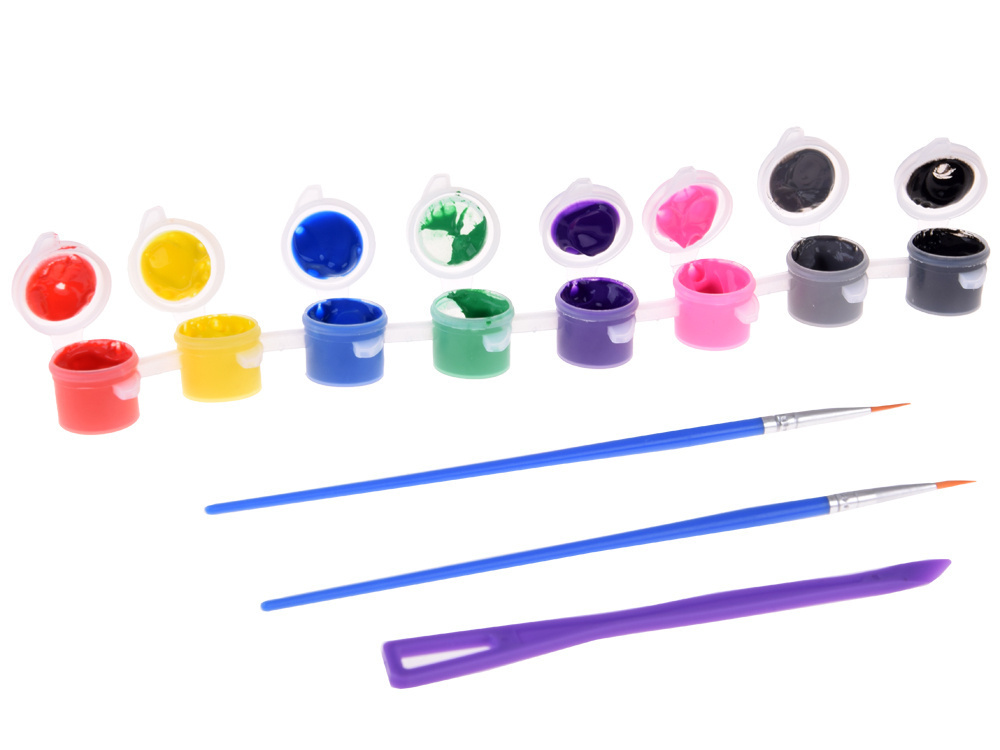
- 8 paint colors
- 2 brushes
- 1 knife
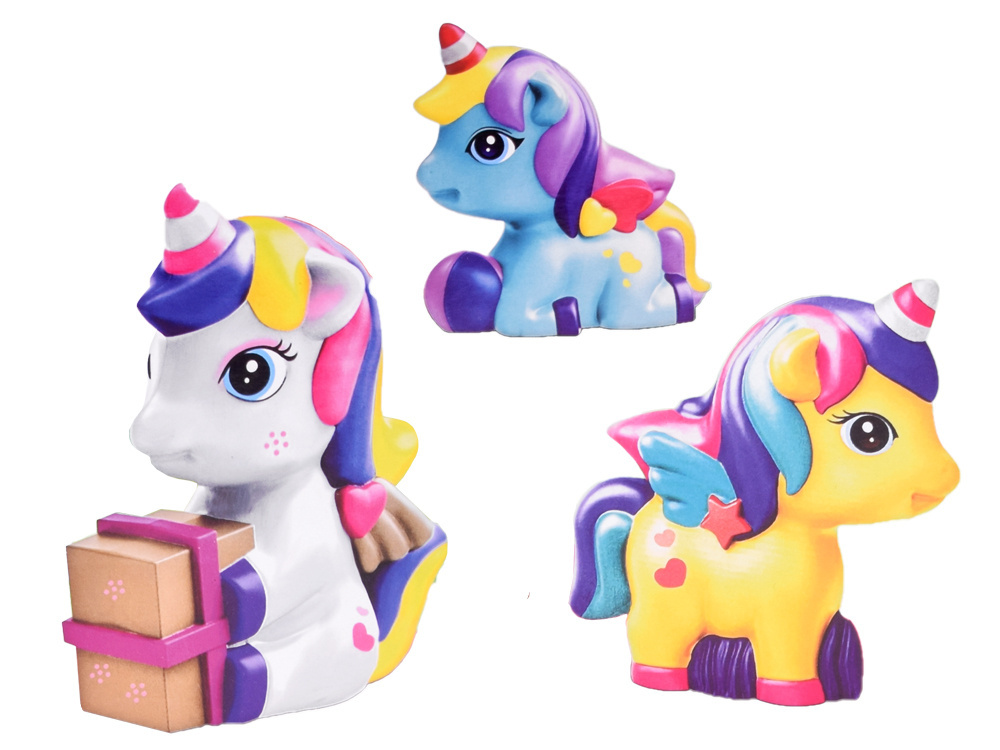
Final effect: handmade, fairy-tale unicorn figurines that can be painted and decorated according to your own ideas.

INSTRUCTIONS
Step 1 – Preparing the Molds
Check that the molds are not deformed or indented. If so, gently deform them by hand.
Insert each round latch closure into the molds one by one. Important: Press the edges around the openings, not their bottom – this will prevent damage.
Block the forms by securing the grooved straps. Ensure that all latches and straps are securely fastened – this will prevent leaks.
Step 2 – Preparing the Plaster
Prepare: a bowl, a measuring cup, a mixing spoon, and approx. 70 ml of pure water.
Pour the contents of one bag of plaster into the water.
Stir until the powder is completely dissolved and the mixture is smooth – without air bubbles.
Step 3 – Filling the Mold
Slowly pour the plaster solution into the mold.
Gently shake the mold to ensure the mixture fills all the details.
Step 4 – Setting
Set the mold aside for approximately 1 hour.
The longer the plaster dries, the stronger the figurine will become.
Step 5 – Removing the Figurine
Release the latches from the bottom and slowly open the mold.
If the figure is stuck to the mold, gently tap its sides until the material releases.
Step 6 – Finishing the Figurine
Remove excess plaster and burrs using a knife/scraper.
Smooth the edges with the other side of the plastic knife (polisher).
Step 7 – Decorating
Use colors and brushes to paint your unicorn.
You can combine colors to create new shades. On the back of the packaging, you'll find a cheat sheet for mixing colors.
Tip: Before pouring the solution into the mold, make sure it is completely dissolved to avoid the formation of air bubbles due to even mixing.
On the back of the packaging, there is a small guide for users on how to obtain different colors by mixing colors from the set.
Creating your own unicorns is not only great fun, but also a great opportunity to develop imagination, creativity, and manual skills. Children love unicorns, and the opportunity to independently create and decorate these magical creatures will bring them immense joy. It is also a great choice to spice up the fun during a birthday!
Finished figurines can become an exceptional room decoration, a handmade gift, or simply a keepsake full of colors and imagination. This is a set that provides not only entertainment but also the satisfaction of creating something beautiful from start to finish.
The Jokomisiada store fulfills children's dreams, so be sure to visit us for more - we warmly invite you!


